When we deploy infrastructures in Azure, we can find scenarios in which our IaaS virtual machines do not need to have a public IP, since we do not have to access them from the outside. However,these machines need Internet access for tasks, such as downloading and installation of updates.
Not having a public IP address assigned to our machines, increases their security, since they will not be exposed on the Internet to possible attacks from password guessing, DoS, etc.
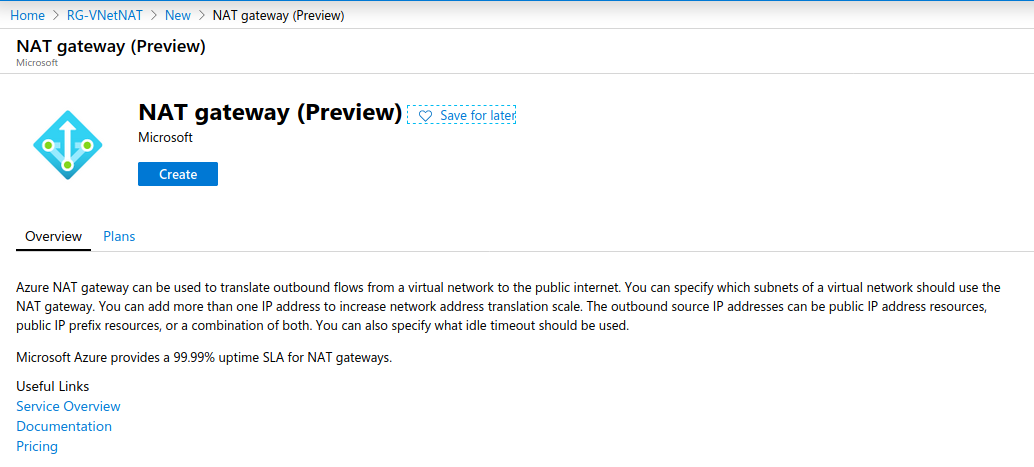
Since the beginning of March 2020a tool has become available that facilitates the deployment of this type of scenario: Virtual Network NAT.
https://docs.microsoft.com/en-us/azure/virtual-network/nat-overview
As of today, it is previewed in a few regions:
· West Europe
· East Japan
· East US 2
· West US
· West US 2
· Central-West US
And let’s see how we can use this new tool in our networks.
The first step to use Virtual Network NAT is to register for the preview. When it is available generally,this will no longer be necessary. You can register from Azure CLI or from PowerShell. If we choose PowerShell, we shall do the following:
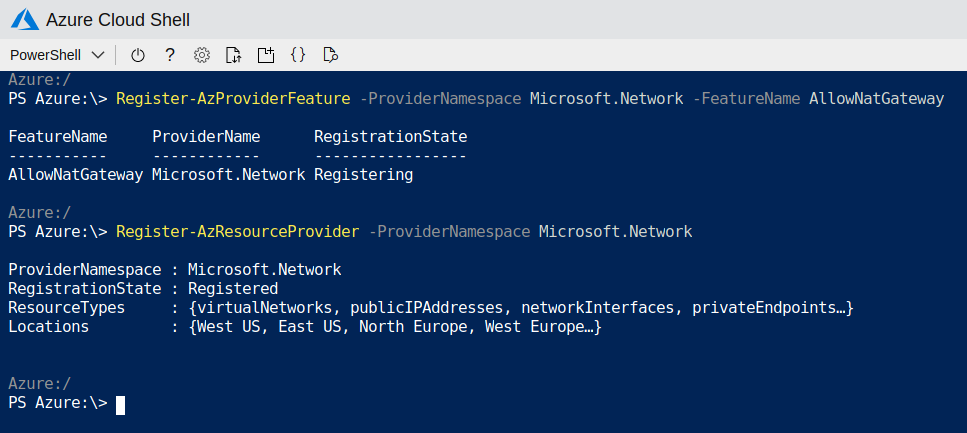
With the first command, we register our subscription in the public preview and with the second command we activate the registration.
To use Virtual Network NAT, we will create one or more NAT Gateways in a virtual network. Each subnet of a Virtual Network can be associated with a different NAT Gateway or the same one.
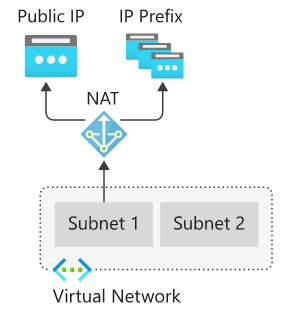
When we define the NAT Gateway to be used in a subnet, all the TCP and UDP traffic from the machines that are in that subnet will use the NAT Gateway to go outside.
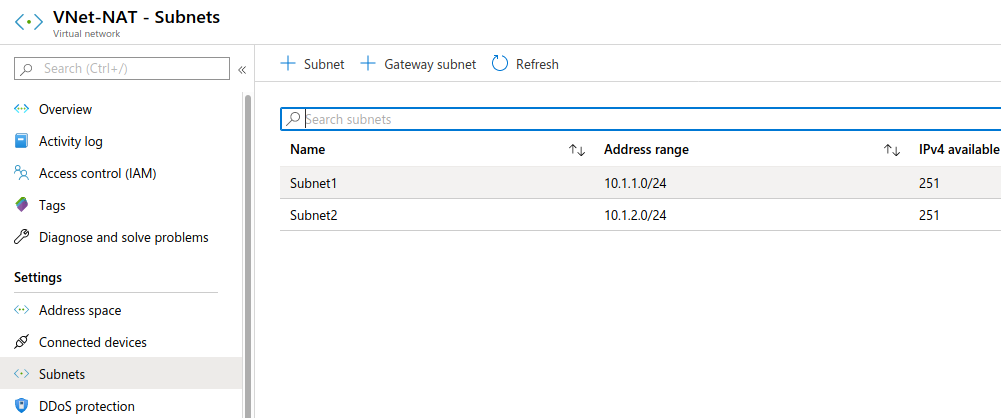
We are going to start from avirtual network that we have already created with two subnets:
And we have a virtual machine in every subnet:
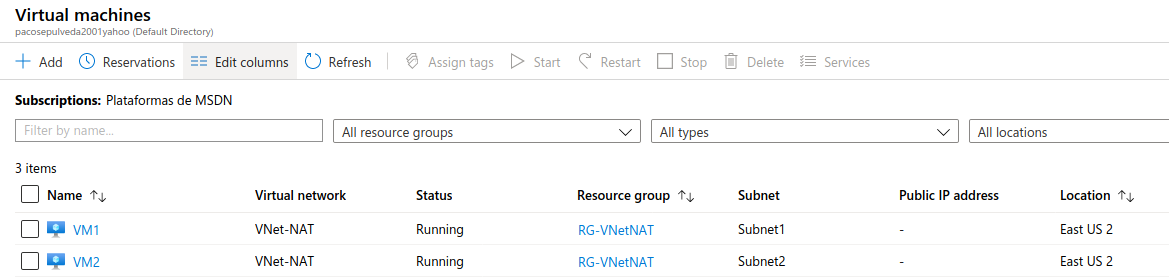
As we can see, none of the two virtual machines have a public IP.
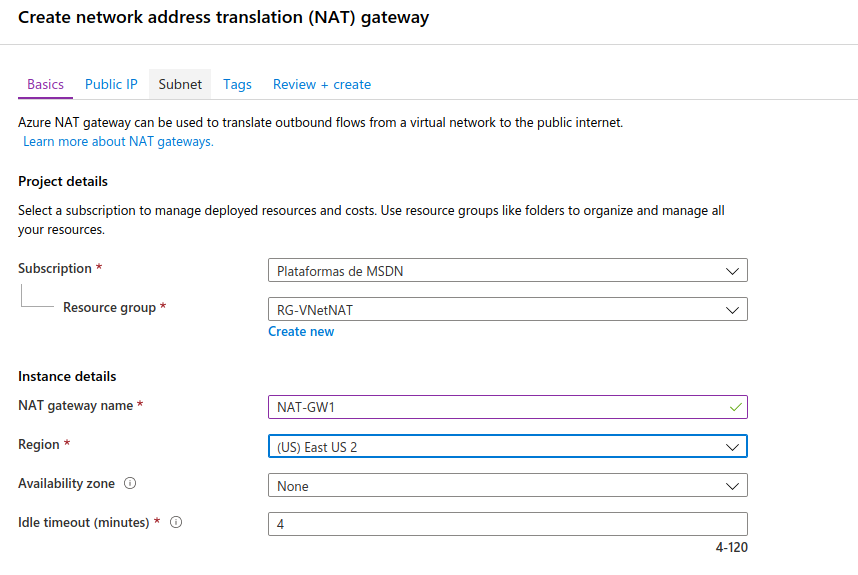
Let’s configure the NAT Gateway in the network:
We will give it a name and select a region:
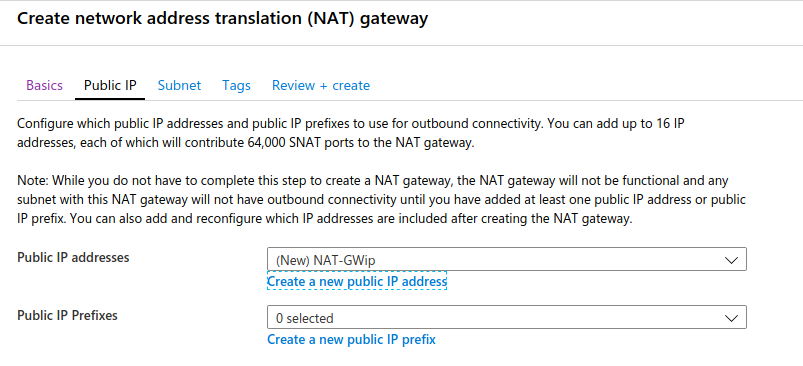
We will assign a public IP to this NAT Gateway. It could have up to 16 addresses or a prefix of public IP addresses. We will create a single public IP:
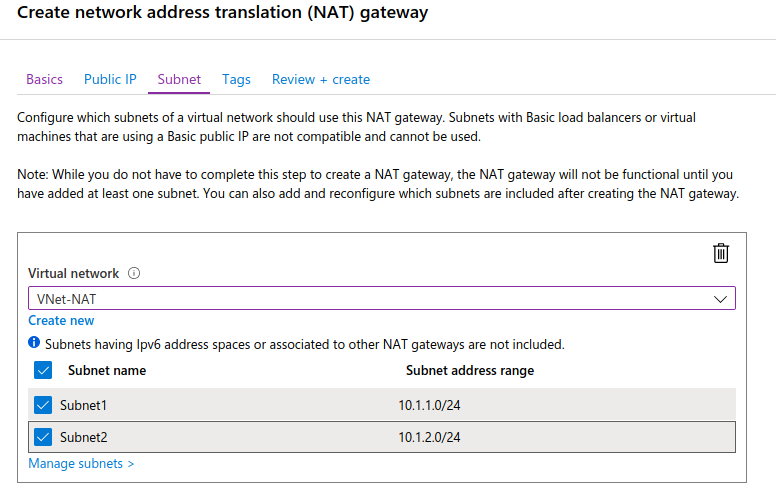
Next we should select the network and the subnets to which the NAT Gateway will be associated:
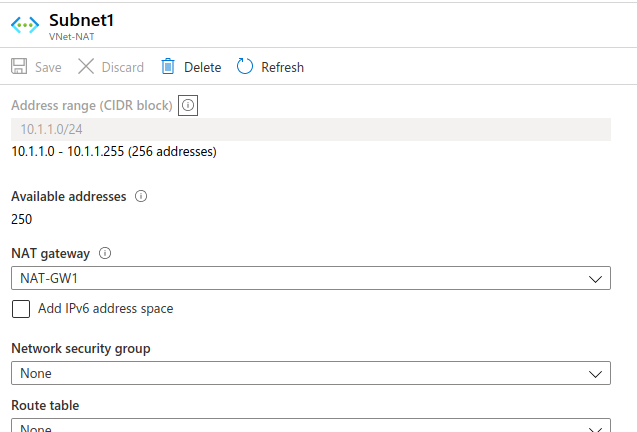
Once we finish creating the NAT Gateway, we can check the associated subnets:
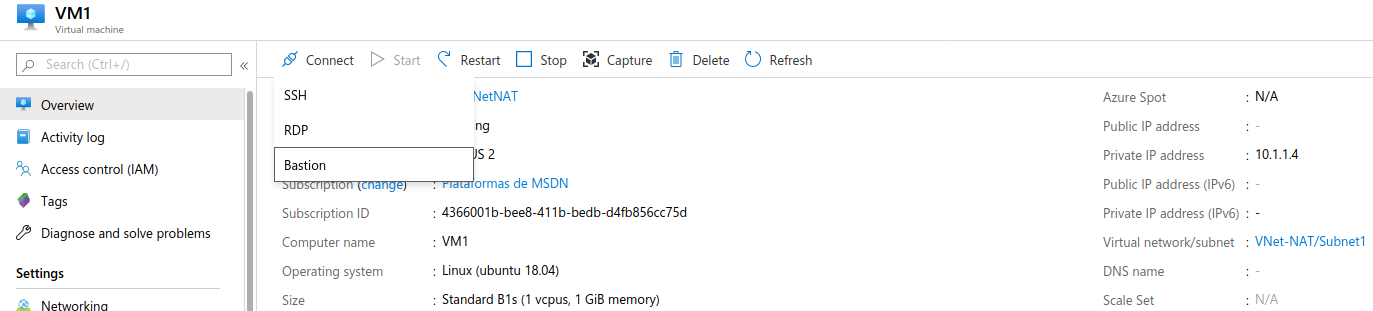
When we verify that this is correctly configured, we will realise that we cannot access the machines because they do not have a public IP, so we will use a bastion to access them via SSH and verify that they have access to the Internet through the NAT Gateway. We have already seen in another post how a bastion is configured:
https://www.spainclouds.com/blog/azure-bastion-host
If, for example, we go to machine VM1, which does not have a public IP, and we access it via SSH through the bastion:
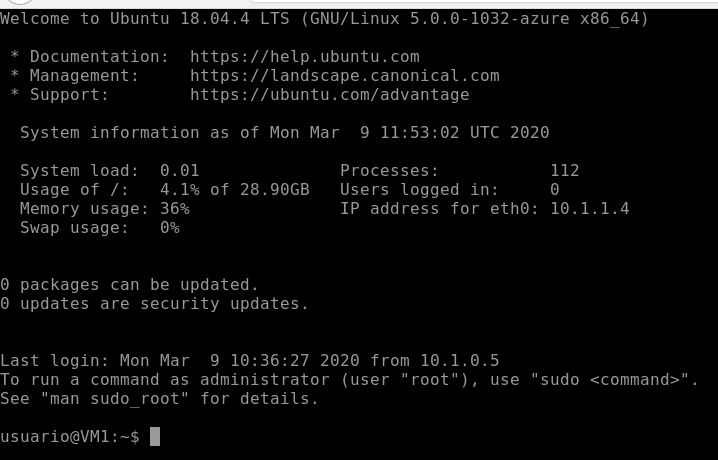
And we access the shell:
And we then try to connect to the internet, for example, by using the command “apt update”:
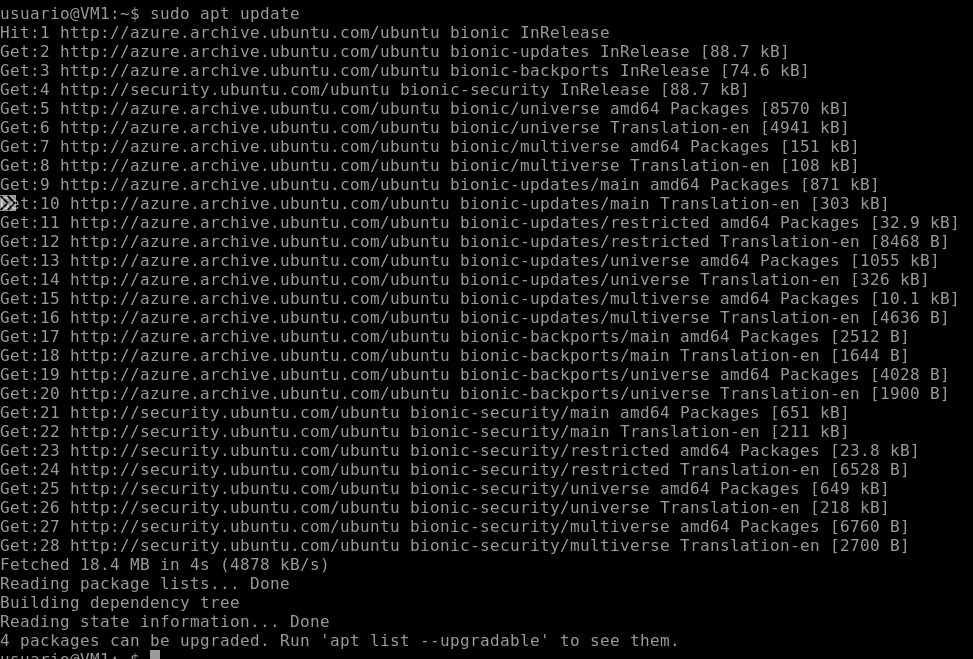
We can see that it connects with no issues.
Keep in mind that the NAT Gateway sends any TCP and UDP packets outside, but not ICMP, so if we try to ping it,it will not work.


